Sylvie De Meerleer
Work
Social Projects
'Pick a Color!' (2023)
'A Finger is the Softest Pencil' (2016)
Drawings
'The Undersea Flowers' (2023)
'Variations on a - sometimes - Jeans Blue Sky' (2022 - 2020)
'And so the Feathers gathered like Waves...' (2023)
'Hommage à la Chère Alice' (2023)
'De-Centered Spirals' (2020)
'Black Goddess / White Entities' (2019)
'Where Movement finds Stillness' - Van Gogh Residency Zundert (2019)
'Only this Moment holds Space Together' (2018)
'Between Void and Presence' (2017)
Nature studies (2017)
Needle drawings (2017)
'Repeat 1' (2012 - 2014)
'Floating Orgasms' (2012)
Sewings by hand
Autumn work (2020)
Springtime work (2020)
Van Gogh Residency Zundert - Large work (2019)
Van Gogh Residency Zundert - Small work (2019)
Work on Copper
Selection (2016)
'A distance to(o) close' (2015 - 2016)
Collages
Selection (2017)
Paintings
'Découpages' (2013)
Exhibition views
'Rhythm is a Drawer' (2021)
'The Wall is as Soft as Lace' (2020)
'I've never lied to you' (2018)
'A distance to(o) close' (2016)
'Repeat 1' (2014)
Bio
Texts
'SYLVIE DE MEERLEER in de Bogardenkapel', 2021 - André Baert (NL, FR, ENG)
'Tijd is ons enige echte bezit', 2021 - Yves Joris (NL, FR, ENG)
'The Wall is as Soft as Lace' - Linda Eversteijn, 2020 (NL, FR, ENG)
'Onmacht voelt bevrijdend' - Esther van Rosmalen, 2019 (NL, FR, ENG)
'Onzichtbare Ruimte' - Indra Devriendt, 2018 (NL/FR/ENG)
Vladimir Ivaneanu, 2019 (NL, FR, ENG)
Indra Devriendt, 2015 (NL)
'Repeat 1' - Eva Denys, 2014 (NL, FR, ENG)
News
Contact
4
/
7
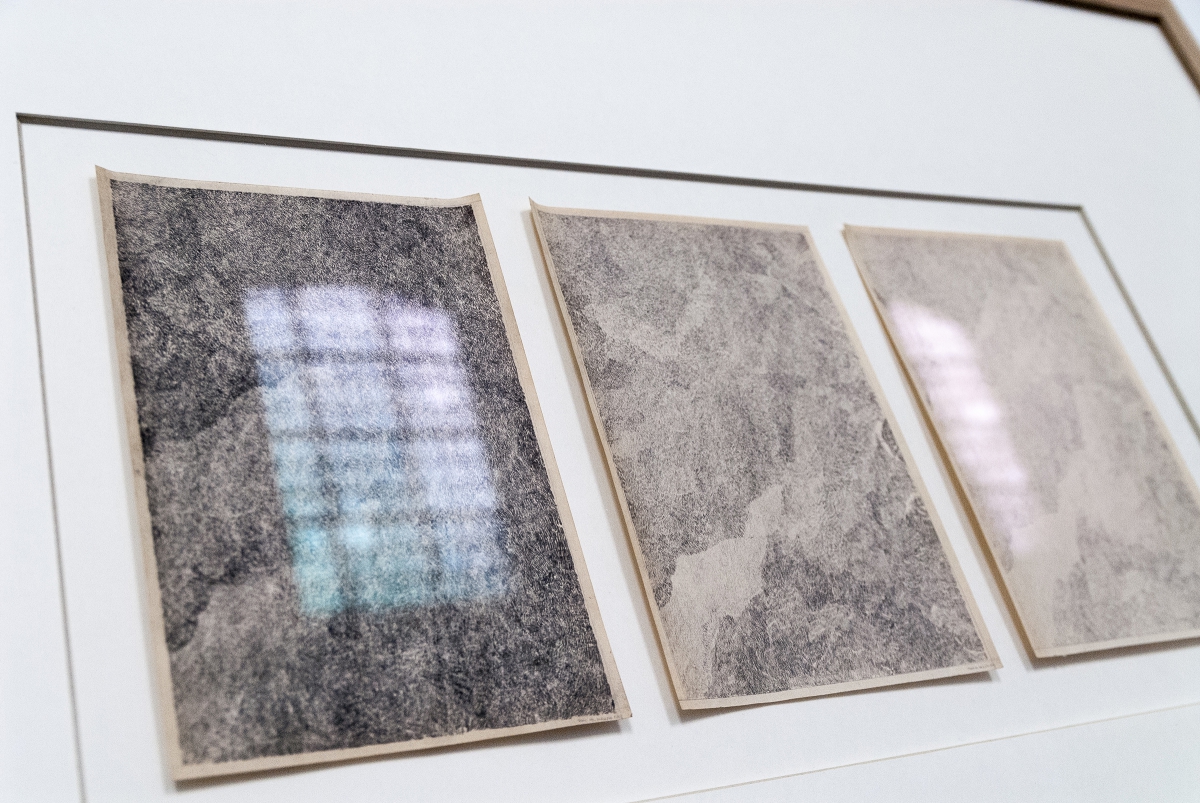
'Between Void and Presence' - Detail III
4
/
7
Back
To improve the user experience on this site we use
cookies
.
I agree